How it Works
Follow the steps below to create your label and order custom labelled wine from the winery of your choice. For more specific information, please use the side menu to the left.
Step One - Choose A Wine
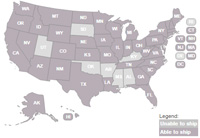
The first step of the order process begins with selecting your destination state from our our state map. If at least one of our wineries ships to your state, you will be presented with a list of wines from that winery. If more than one of our wineries can ship to your state, you will have the option to select the winery that you prefer from the winery dropdown menu. Selecting a wine from this list will display a complete description of each varietal along with volume pricing. Bear in mind that, as you are ordering directly from the winery, you cannot combine products from different wineries in the same shopping cart.
Optional - Order a Sample Bottle
Want to taste a wine first before making a decision? Choose any wine from the list and select Sample Bottle from the custom label dropdown. You can purchase as many different sample bottles as you like with no label setup fees.
Step Two - Create Your Label
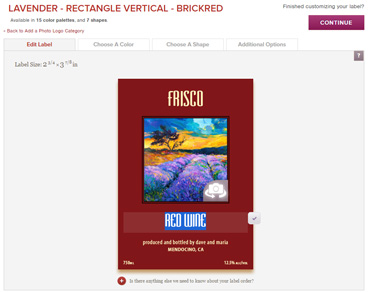
Once you have selected a wine, you will then be brought to the 'Label Categories' page. Our labels are sorted into styles to help you quickly find the type of label that will best fit your requirements. Once you've selected a design, you will be taken to the ‘Label Editor’.
Label Editor
This is where the real fun begins and where your creativity will be called upon.
The main panel of the Label Editor displays your chosen label design along with several custom text fields. To edit your label's text, simply click on a text field and type your custom text as you would like it to appear. If your selected design template features a space for a custom image, a change image button will also appear that will allow you to upload a photo or logo to your label design.
Other options for customizing your label design are accessible through the various tabs at the top of the editor, including changes to the color, shape, and material type.
Once you have your label set up exactly the way you like it, click ‘Add to Cart’, or "Continue" if you have not yet selected a wine.
Step Three - Place Your Order

Once you've added your label design to your cart, you will have the option to order a digital proof, as well as to change your order quantity and material type if you have not done so already. Once you have finished adding all of your labels and wines to your cart, hit the Check Out button on your shopping cart screen to continue with placing your order.
The Check Out process is straightforward and will guide you through each step of entering your shipping address, selecting your shipping method, and entering your billing and payment information. Once you have entered all of the appropriate information, hit Continue, make sure to hit the Place Order button to finalize your order.
Order Fullfilment
As soon as you place your order, it enters our production process. Our team is alerted to the fact that a new order is in the system, and you will receive an email notifying you that one of our team has been assigned as your service representative. Your service rep will process your label order and tweak it if necessary to ensure it looks fantastic. If you have requested a digital proof with your order, it will be emailed to you as a PDF for you to review prior to printing.
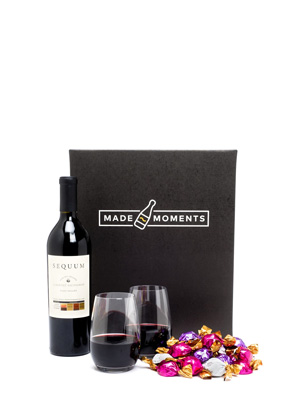
Your labels are then printed along with color matched back labels for the wine type(s) that you've selected. They are then shipped to the winery, who will apply your labels to your wine and then ship you your beautiful finished product.

